Time Lapse Panorama TutorialHere is a simple tutorial for creating Time Lapse Panoramas. First I need to say that I'm poor and can't afford Creative Suite, so I use Photoshop: Elements. The techniques used here can be used in all decent photo editing programs. Now, let's get started.
Step 1:Before you start taking screenshots, run through the action you want to show several times. Find a good angle, and make absolutely sure that your background will fit all of the action. Once you start adding the multiple subjects there's no going back, so measure twice and cut once.
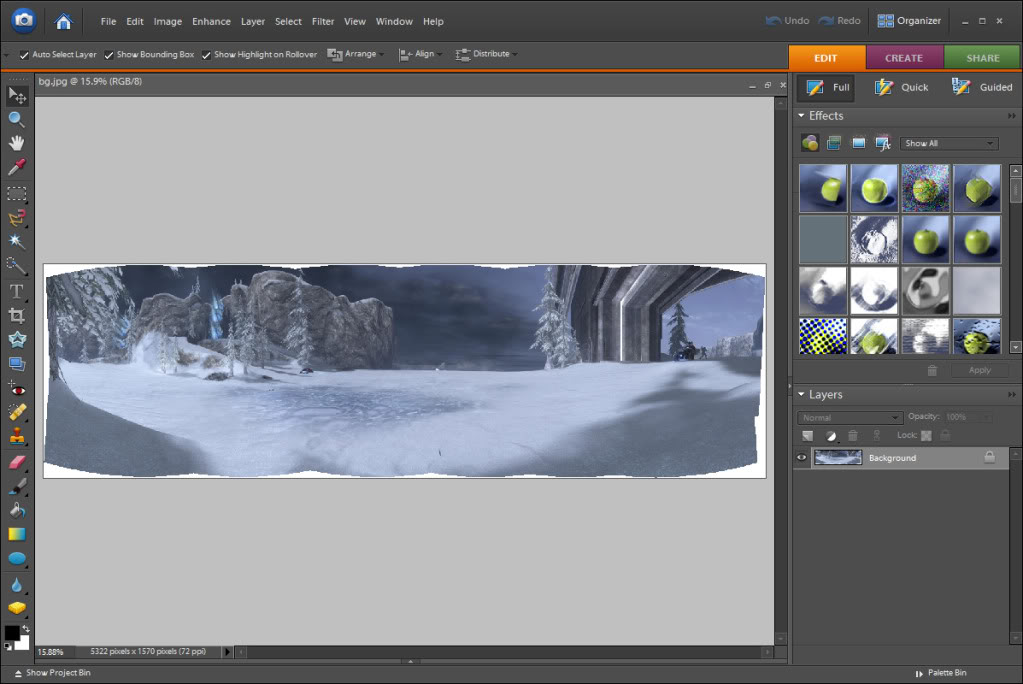
Step 2:Make a standard panorama for your background.
 Step 3:
While keeping the camera on the same axis as the panorama, take screenshots of your subject at different points in time. Take as many as you want, depending on how close you want your subject to be to itself.
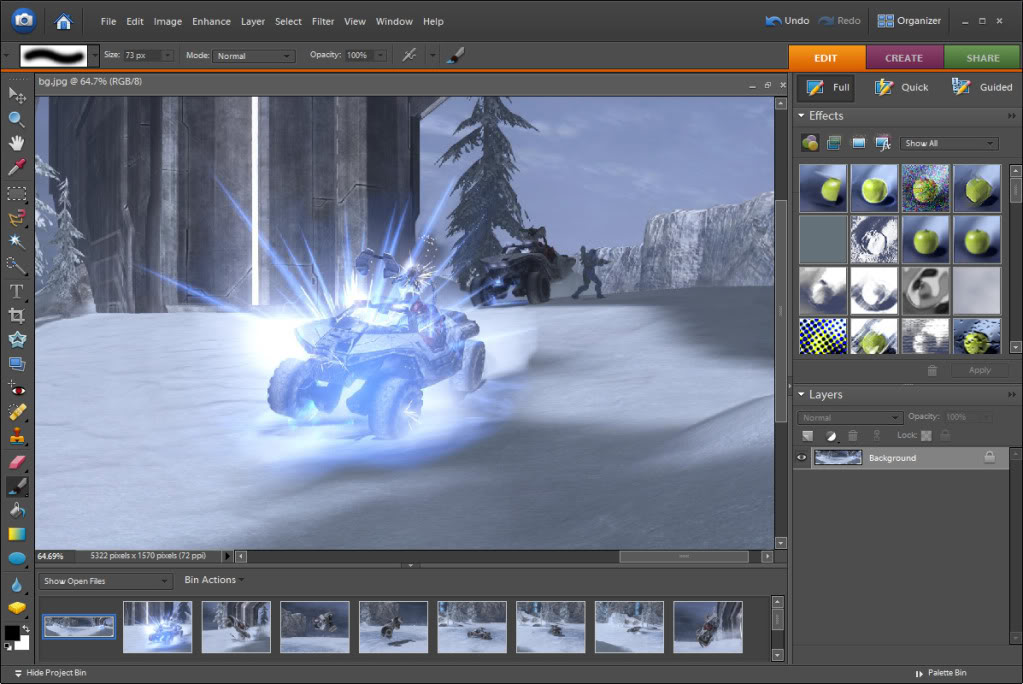
Step 4:Download and open all of the screenshots you just took. Pick one and crop the subject out. Copy and paste it onto the background. Try to line it up as best as you can.
 Step 5:
As you can see, there are many inconsistencies. It's covering the other Warthog, many of the edges aren't lining up, and the lighting is off. To fix this, create a layer mask, and paint around the subject to eliminate those inconsistencies. Pay close attention to details like shadows, explosion streaks, smoke, and particles, and be sure to include them where appropriate. The details are what make the final shot convincing.
 Step 6:
Repeat steps 4 and 5 until you've done so with every screenshot you've taken. This process can take 20-40 minutes, depending on how complicated the action is.

Now you're done! You're free to do whatever altering you do on a regular panorama.

I hope this tutorial helps you with your own Time Lapse Panoramas. Good luck!


